Localizing Drupal
There are basically three ways you can contribute to the Drupal localization effort:
- Translate strings directly on localize.drupal.org
- Download .po files from localize.drupal.org and work on them locally
- Install the localization client and submit localized strings directly from your own site
This guide gives a brief introduction to all three cases.
See also:
Using the centralized localization server
You can access the Danish group on the centralized localization server at the following URL:
http://localize.drupal.org/translate/languages/da
The front page shows the latest blog posts by the Danish team and gives you a quick overview of the current status of the translation.
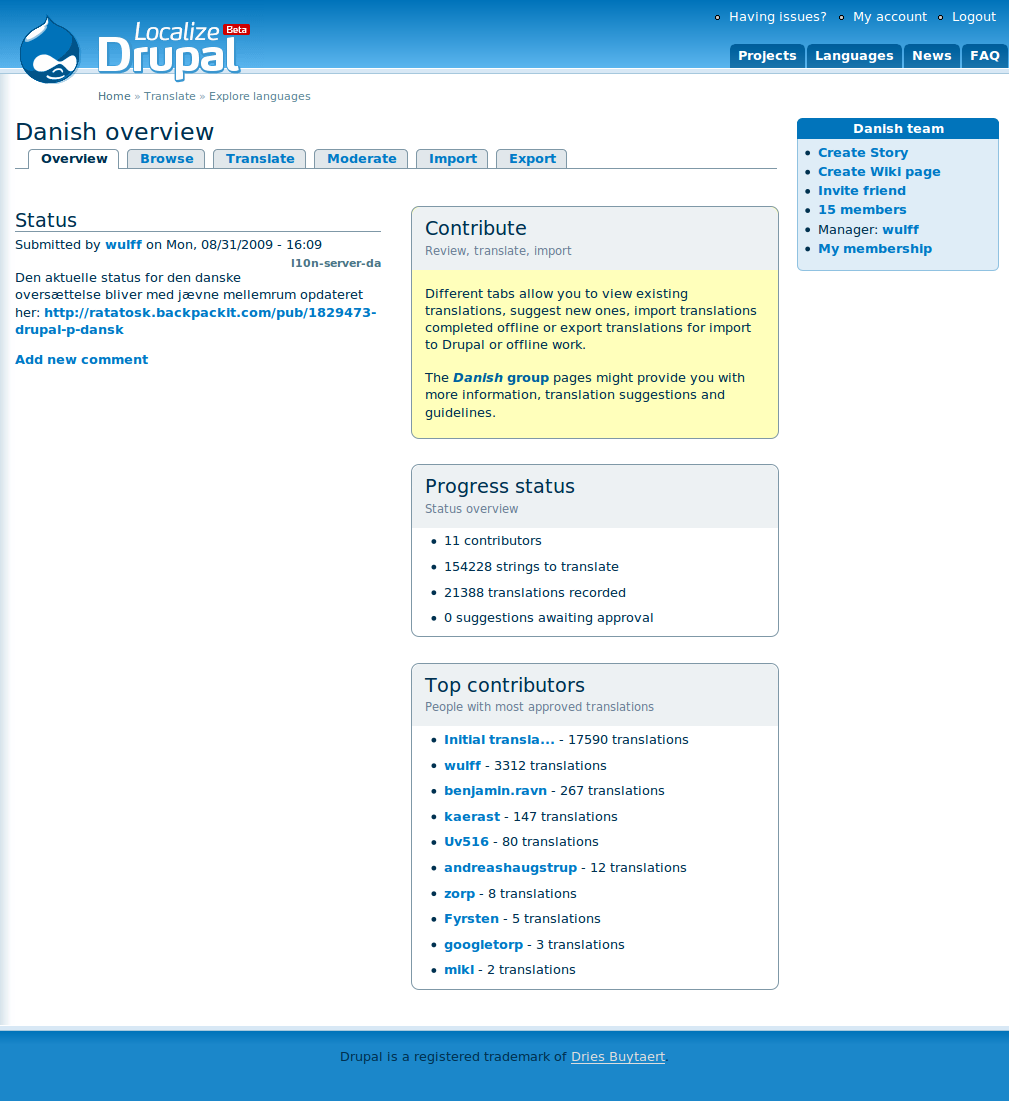
At the time of writing 66 contributors have translated 40359 strings out of 361703 strings total.
An overview of all the projects available for translation can be found at:
http://localize.drupal.org/translate/languages/da
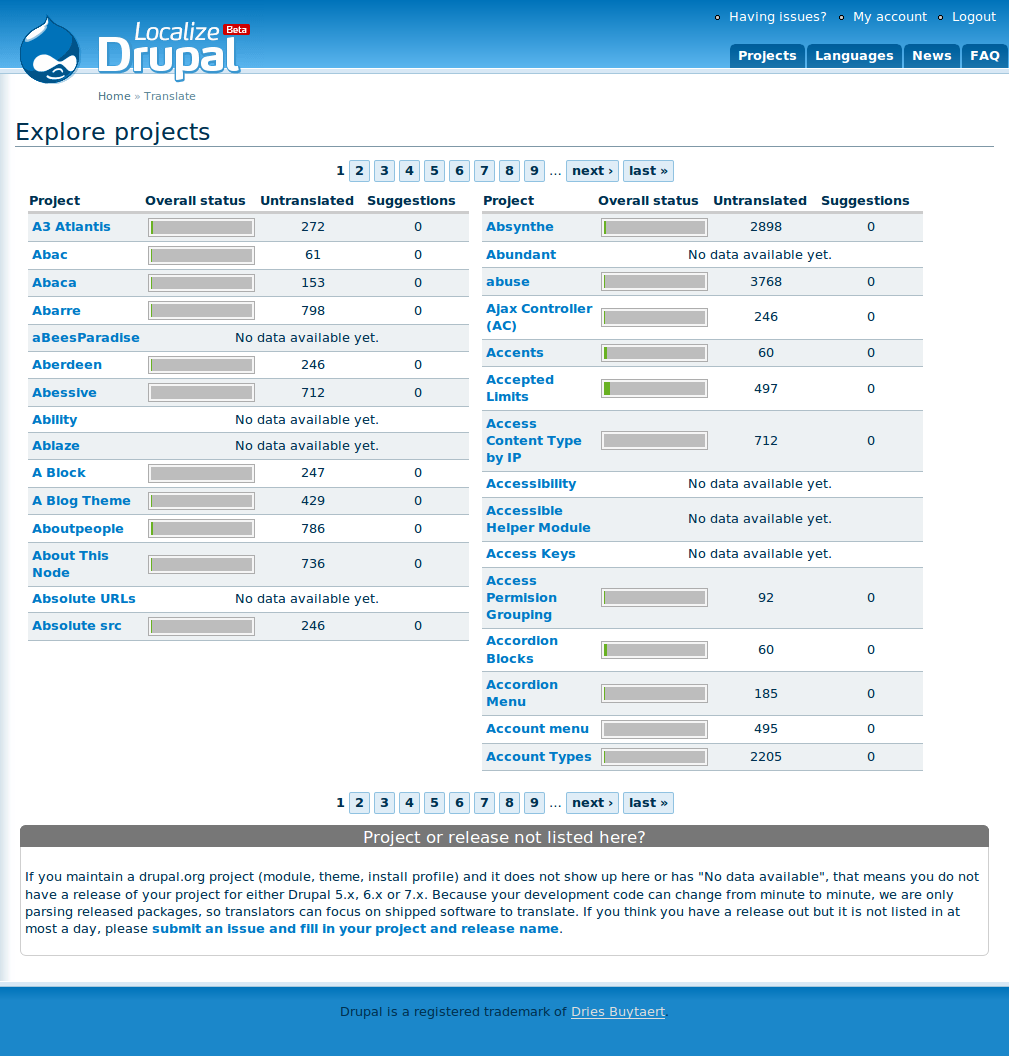
We maintain a much smaller list of the modules we’re currently focusing on.
Adding translations
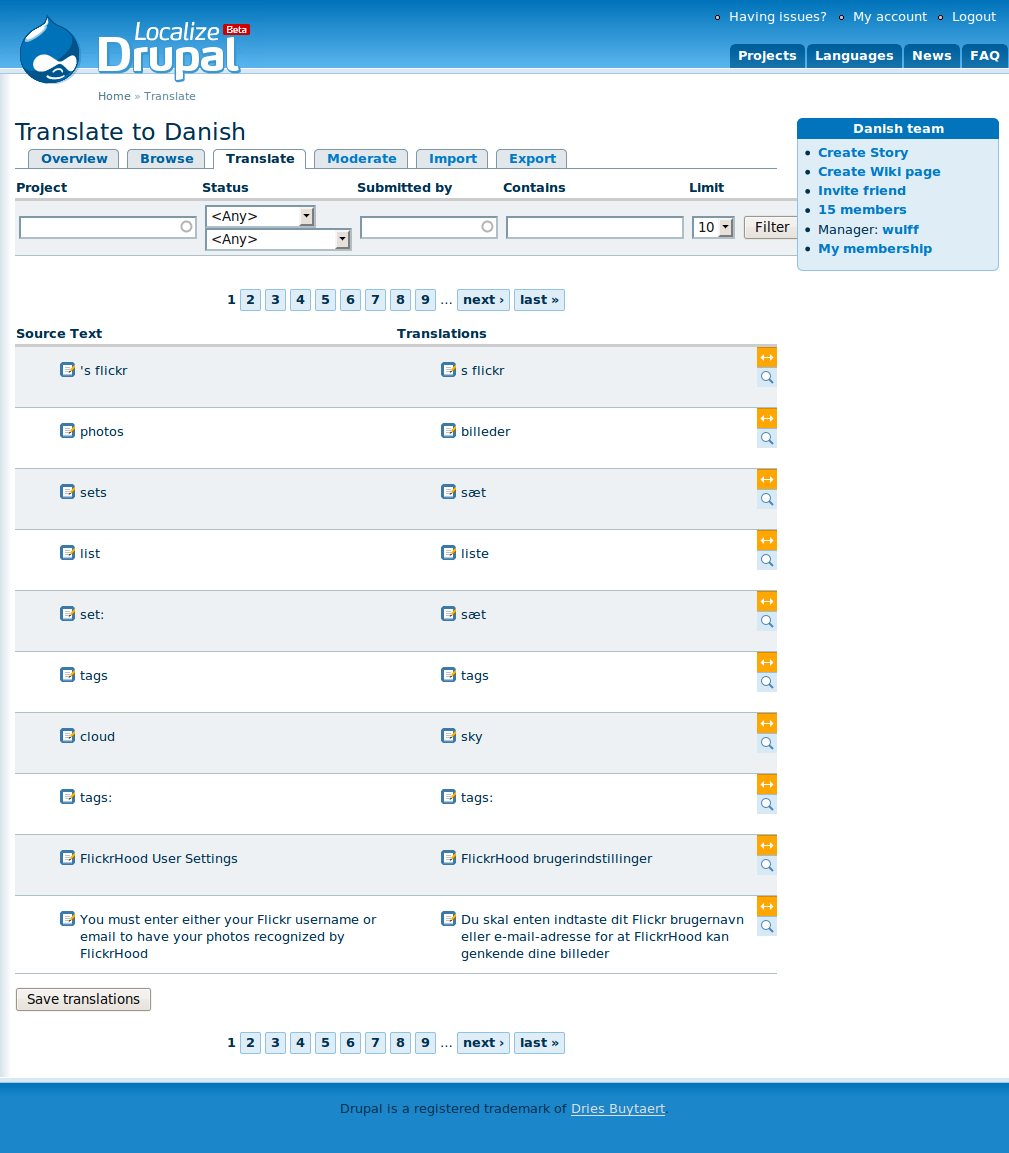
To start adding translations to a specific module, you must go to the Translate tab. Enter the name of the module you want to work with (e.g. Panels) and choose Untranslated from the status dropdown.
When you press Filter you will see a paginated list of all untranslated strings in the Panels module. Next to each original text is a textarea where you can enter you translation. If you are unsure about a translation, you can mark it as a Suggestion for discussion to indicate that you would like other translators to take a look at it before it’s accepted.
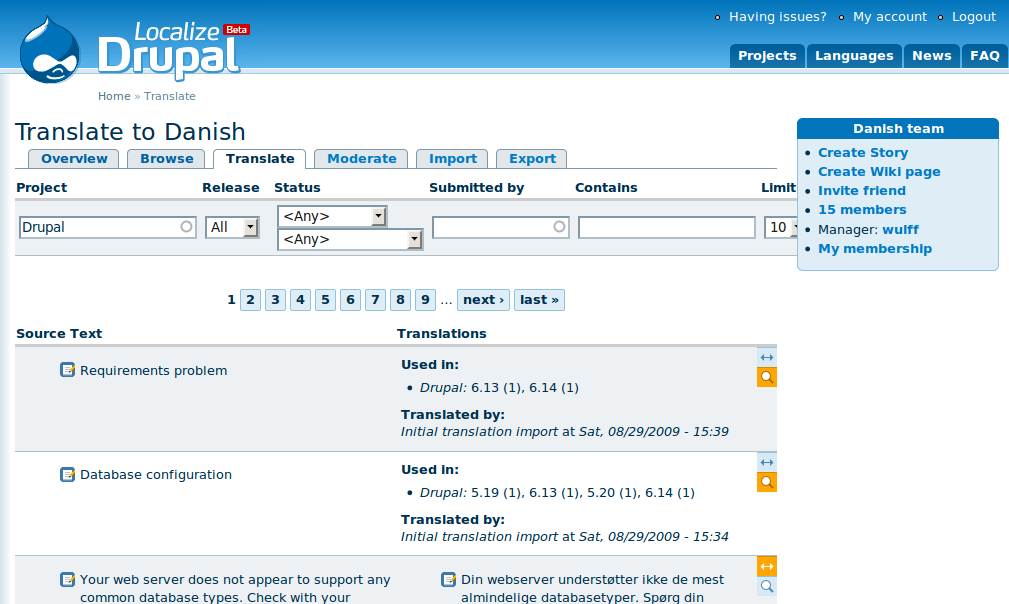
You can click the small magnifying glass to see a list of modules and versions where the source string is used. This can be helpful if you want to determine the context in which a specific string is used.
When you are done entering your translations, press Save translations to save them in the database. Your translations will be put in a queue for review by one of the translation maintainers.
Using a local editor
Copy goes here…
Install and configure Poedit
Open a terminal window (Applications → Accessories → Terminal) and run the following command to install the latest version of Poedit:
sudo apt-get install poeditPoedit is now available in Applications → Programming → Poedit. Run Poedit now to perform the initial setup tasks.

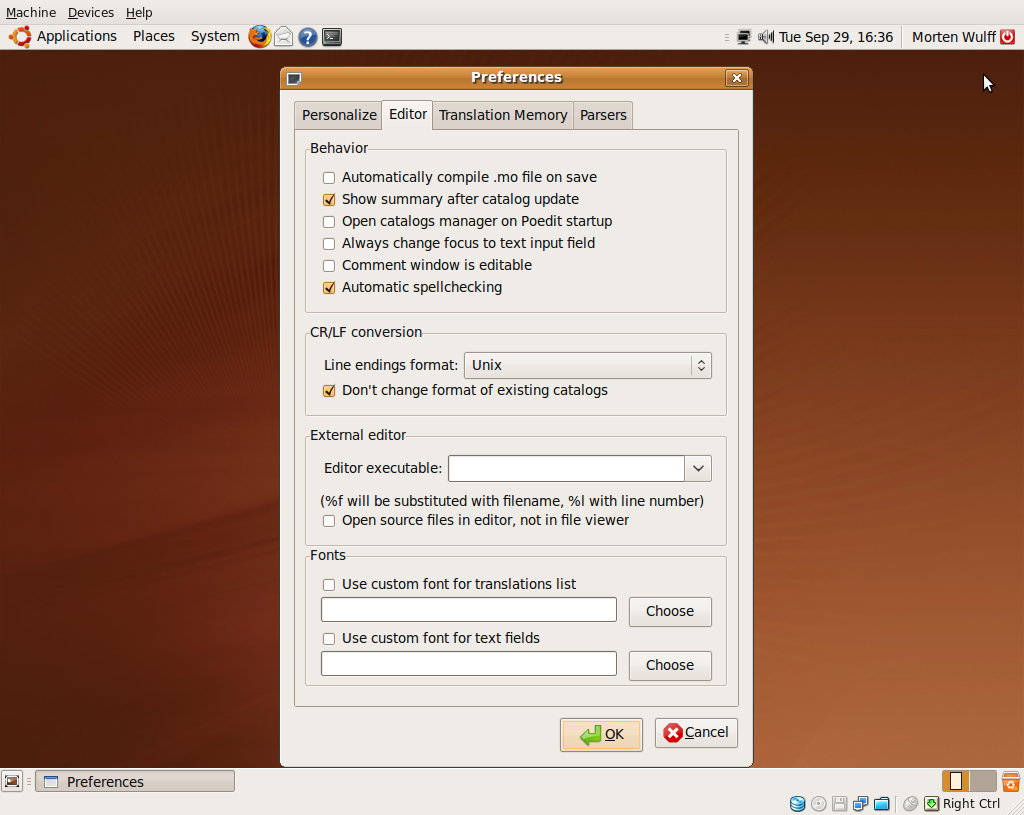
Enter you name and e-mail address and continue to the Editor tab. When you work on translations of Drupal, you don’t need .mo files, so you can just uncheck Automatically compile .mo file on save.

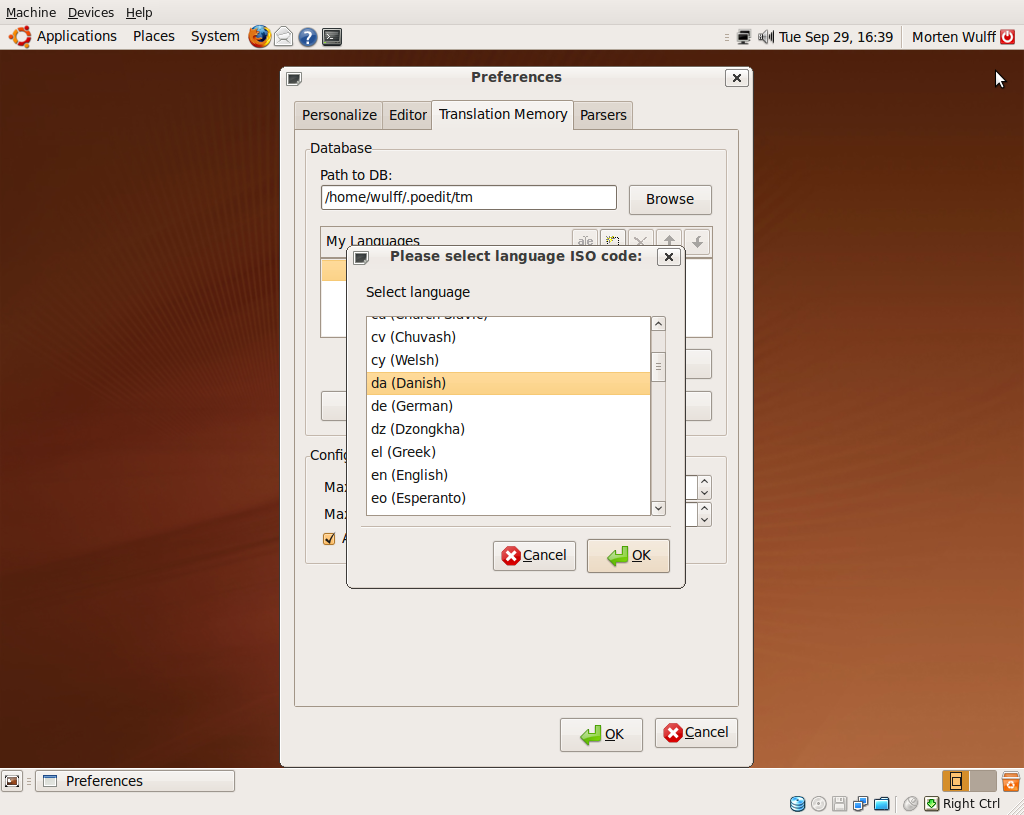
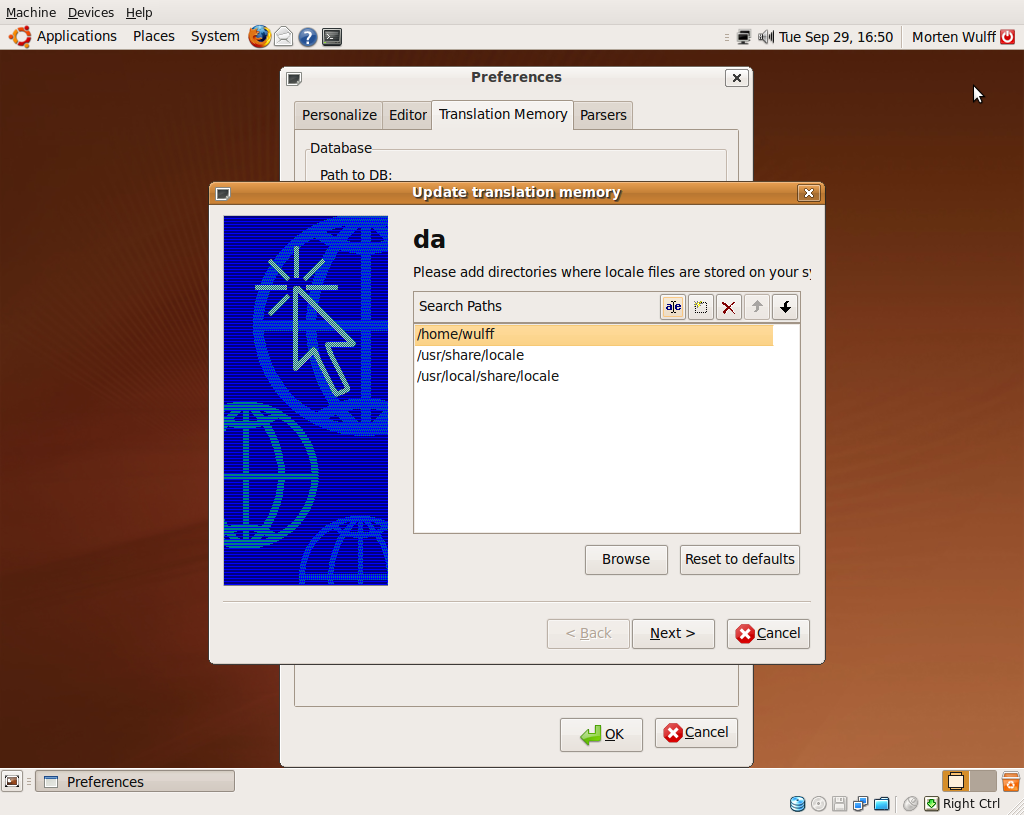
Click Add on the Translation memory tab to add your language to the list. Poedit uses the translation memory to suggest translations of untranslated strings. This makes it easy keep translations of commonly used words consistent.

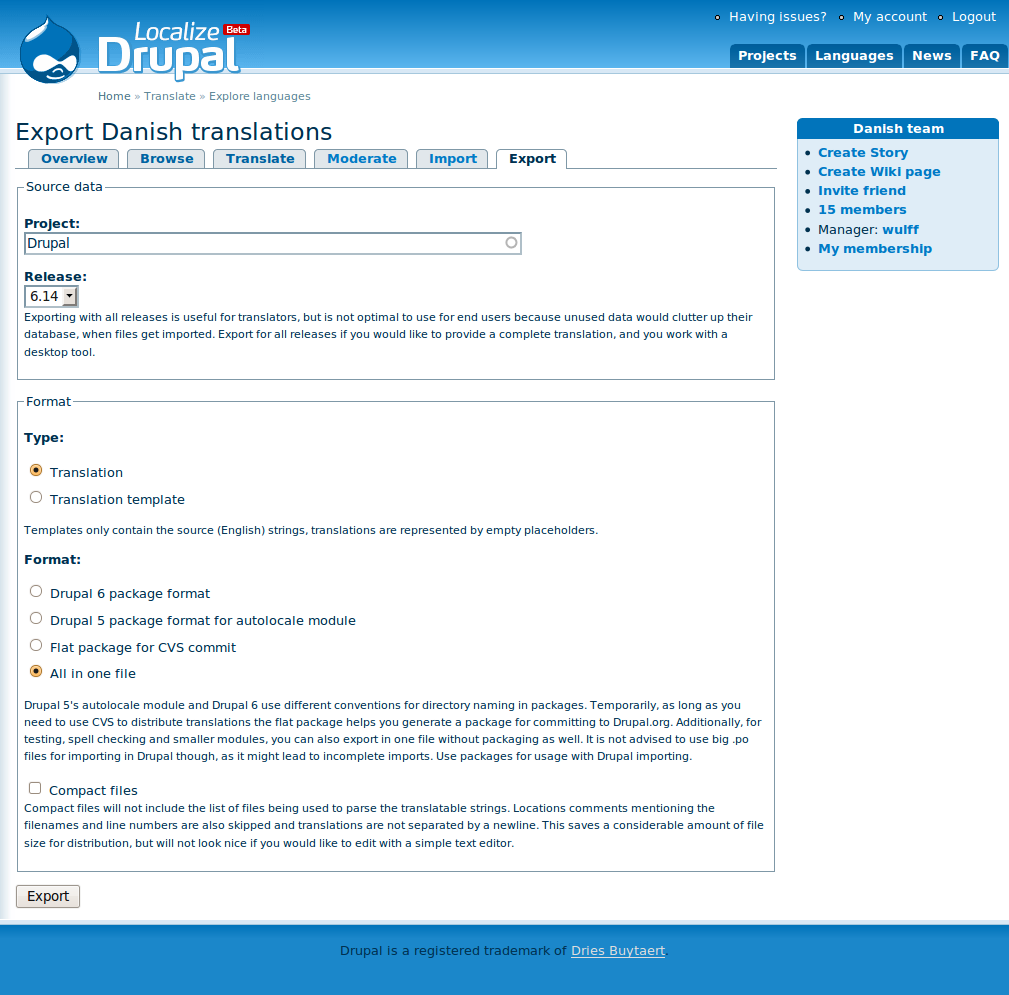
To get started, let’s seed the translation memory with the Danish translation of Drupal core. Go to the following URL to download the latest version:
http://localize.drupal.org/translate/languages/da/export?project=drupal
Select release 6.14, Translation and All in one file. Save the resulting file in your home folder.
Return to the Translation Memory tab in the Poedit preferences and click Generate database. Your home directory should already be on the list, so you can just click Next. If the drupal-6.14-da.po file is not on the list, click Add files to add it manually. Press Finish to scan the listed files for translations.

Associating .po files with Poedit
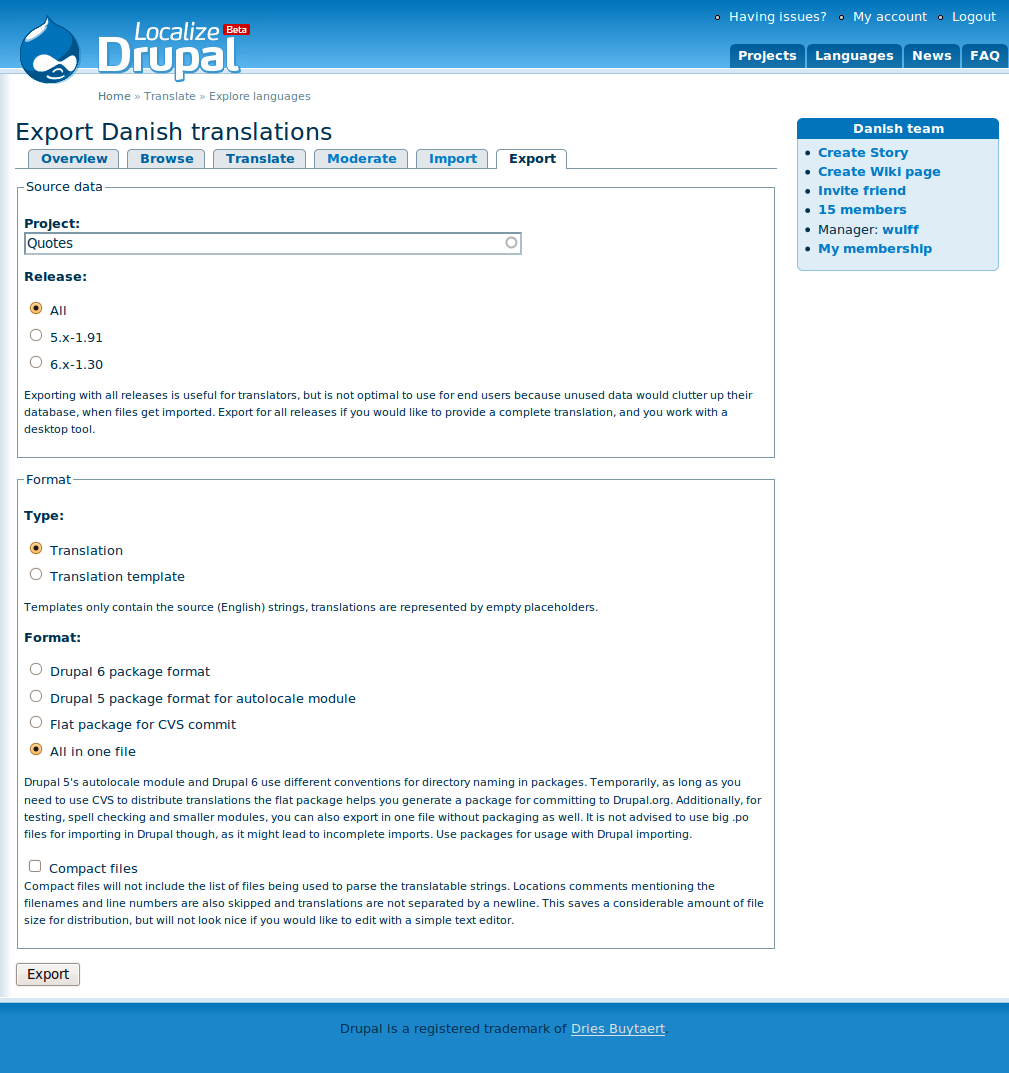
In this part of the guide we’ll work with the Quotes modules. First go to the following URL to export the latest translation of the module:
http://localize.drupal.org/translate/languages/da/export?project=quotes
Choose All releases, Translation, and All in one file. Save the resulting file on your desktop.
First we need to associate .po files with the Poedit. This lets you double-click translation files to open them in Poedit instead of the default text editor.
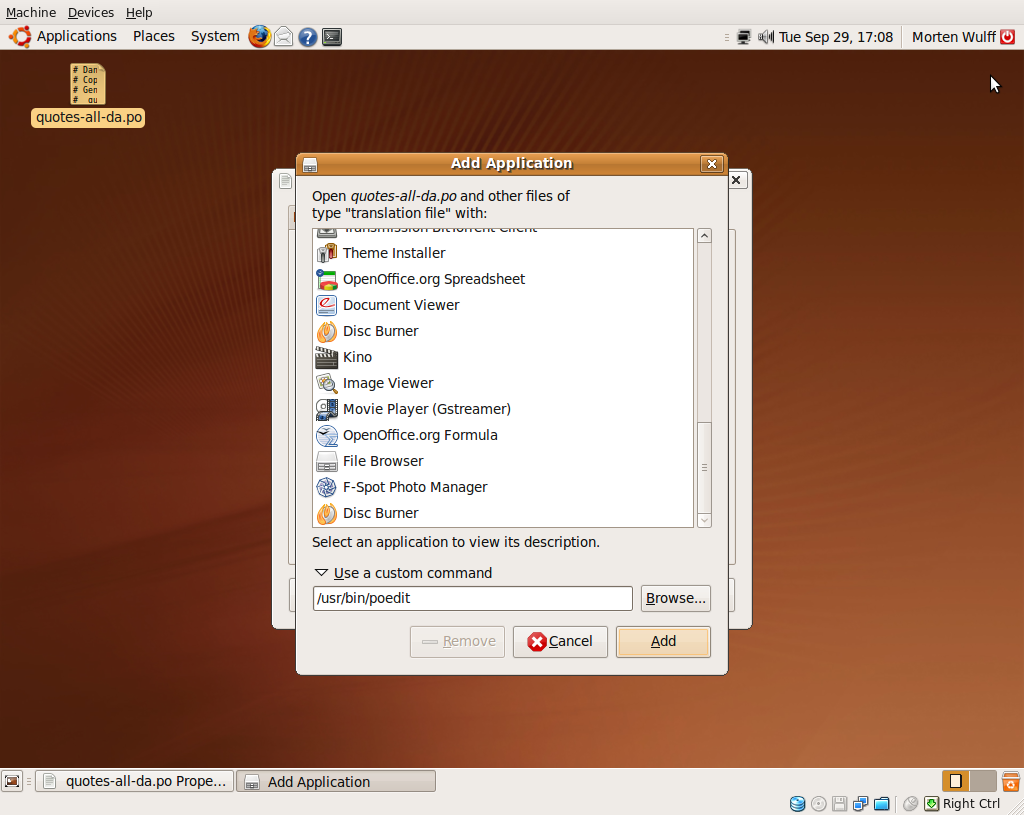
Right-click the quotes-all-da.po file on your desktop, and choose properties. Go to the Open With tab and click Add. Expand Use a custom command and enter the full path to the Poedit binary:
/usr/bin/poedit
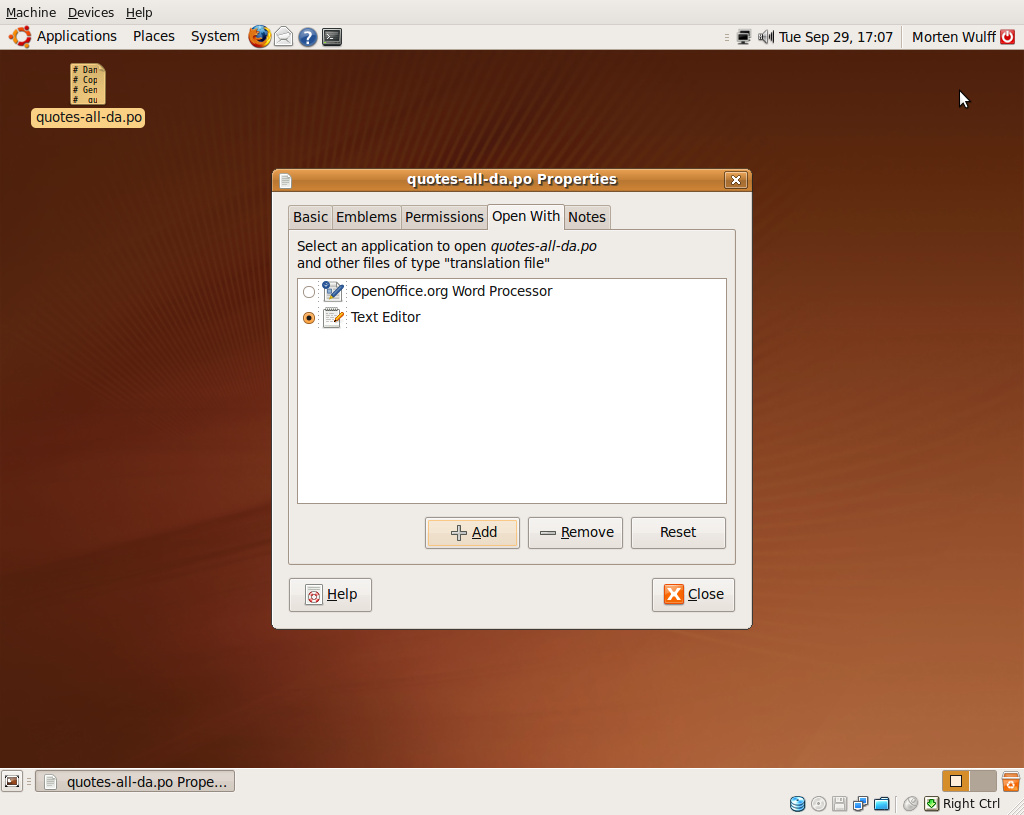
Click add and select poedit as the default application for all files of type translation file.
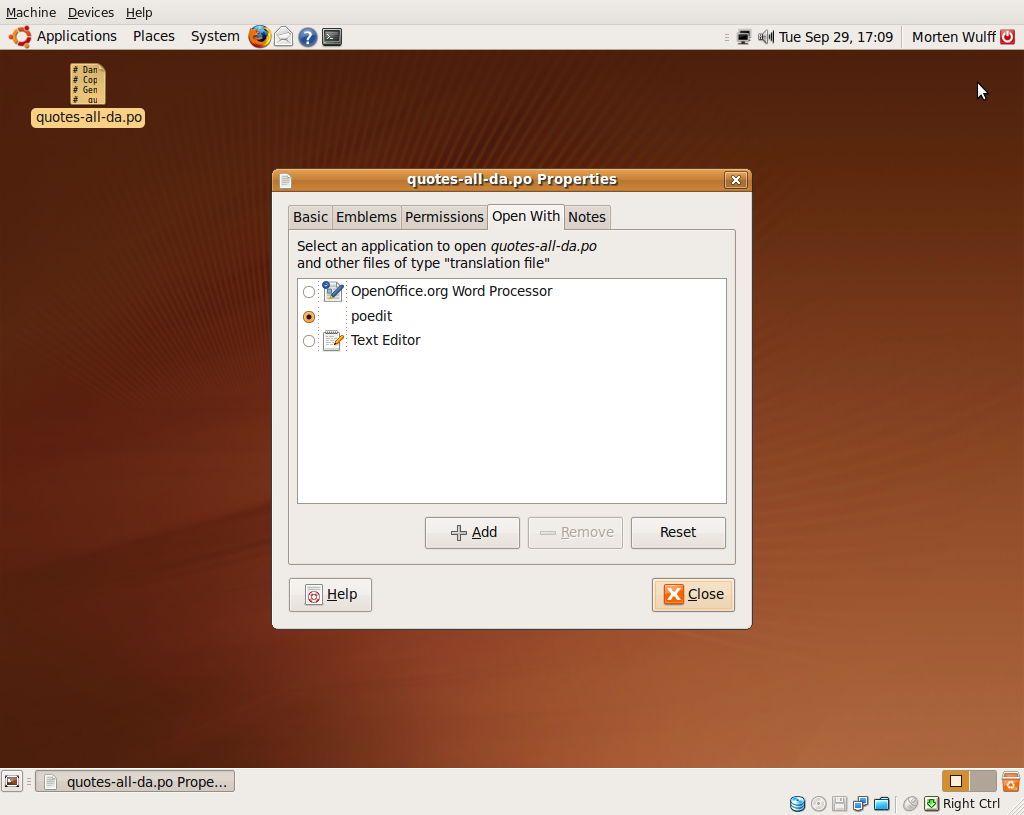
Double-click quotes-all-da.po to open it in Poedit.
Working with Poedit
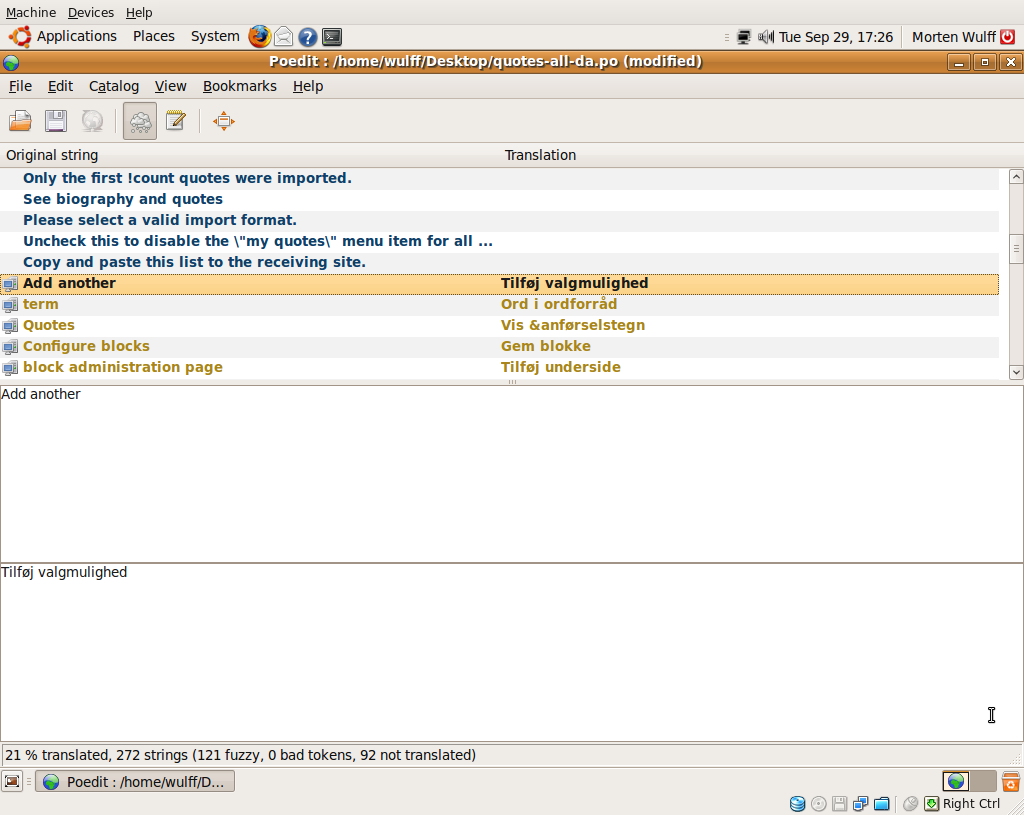
When you open a .po file in Poedit, you will be presented with a list of all the strings in the file. Strings displayed in bold text have not yet been translated.
If you click on an item in the list, the source string will be shown in the top textarea, and if a translation exists, it will be displayed in the bottom textarea. If a string has not been translated, you can enter your translation in the bottom textarea.


Keyboard shortcuts
| Key | Action |
|---|---|
| ALT+C | Copy the source string to the translation |
| CTRL+UPARROW | Move to the previous string in the list |
| CTRL+DOWNARROW | Move to the next string in the list |
| ALT+U | Toggle the fuzzy flag on the current string |
Using the localization client
Install and configure the Localization client module
- Download and install the latest version of the Localization client from Drupal.org
- Go to Administer → Build → Modules and enable the Localization client module.
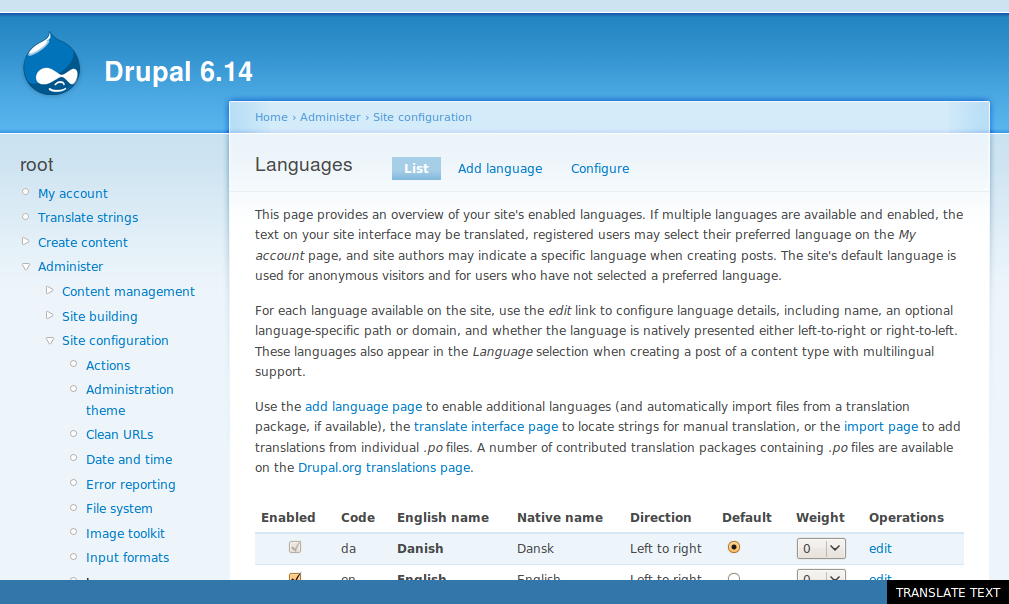
- Go to Administer → Site configuration → Languages and add at least one language. Set one of the new languages as the default language.
Switch your site to a language other than English to activate the translation toolbar. On every page you visit, you’ll see a toolbar at the bottom of the screen, which you can use to translate strings appearing on the current page.


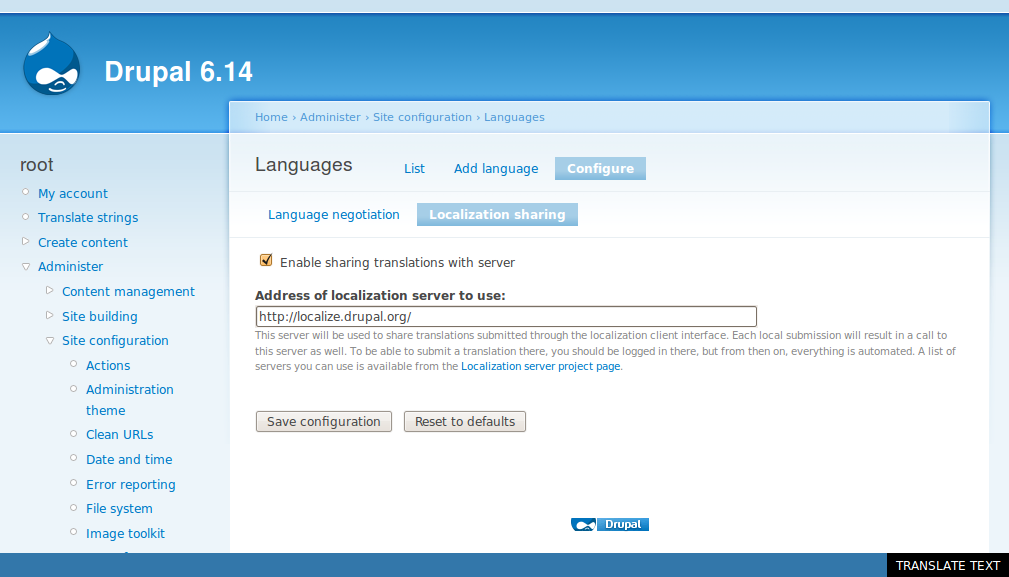
Share your translations
From the Languages page, choose Configure → Localization sharing to enable translation sharing. Use the following URL to connect your site with the central Drupal localization server:
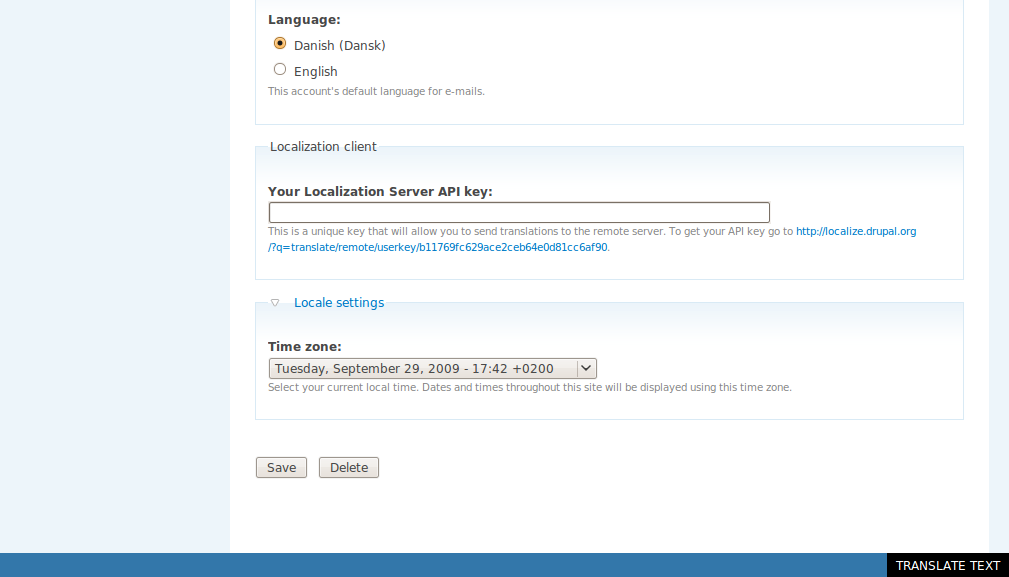
Next go to My account → Edit and find the Localization client fieldset. Click the link below the text field to obtain your API key. Enter the API key in the field and save your account.